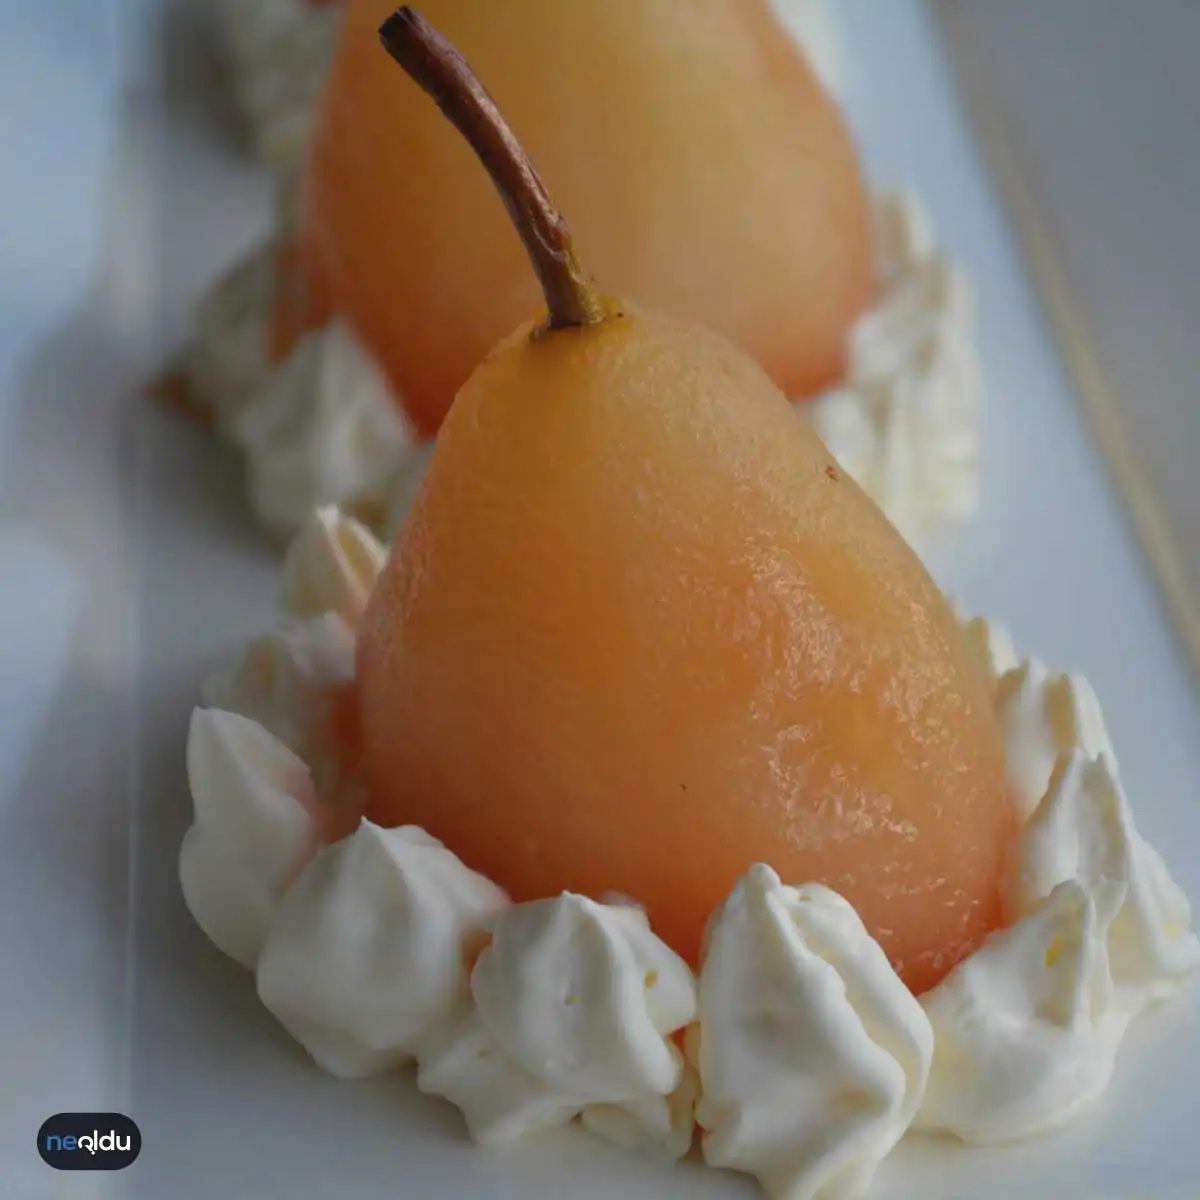
Let’s face it: pear desserts have a bad reputation for being complicated. They don’t do that. In fact, they’re one of the easiest treats to make whether it’s hot or cold outside. They are year-round staples for good reason. The flavor is rich and comforting, so it feels special without much effort. There are many ways to do them, but sometimes you just want a version that works every time.
Here’s how it’s done.
Why pears work so well
Pears retain their shape better than many other fruits when baked or cooked. They are soft but not mushy. That structure is key. If you use fruit that breaks down easily, you’ll end up with a soup and not a dessert.
You can bake them. You can poach them. You can even eat them raw with cheese. However, if you’re looking for the path of least resistance, there’s one method that stands out. It requires minimal preparation. It tastes like autumn in July.
The easiest way
Start with ripe pears. Not rock hard. Not turning brown. Just right.
Peel them. Remove the core. Leave them whole or cut them in half if you like. Whole pears look elegant on a plate. Halves are easier to eat with a fork while lounging on the couch.
Now the sweet part. Literally.
Drizzle with honey. Add a piece of butter. If you like it warm, sprinkle a pinch of cinnamon on top. That’s it. You don’t need flour. You don’t need eggs. You don’t need a mixer.
Put them in a baking dish. Bake at 350°F (175°C) for about 20-30 minutes. The time depends on how ripe your pears are. You want them to be tender but intact.
Take them out. Allow them to cool slightly. The honey will bubble and thickens into a glaze. Serve warm. A scoop of vanilla ice cream helps to go full indulgence. But it is not mandatory.
Where to find the best pears
You may be wondering which type works best. Bosc pears are firm and keep well. Anjou pears are sweet and juicy. Bartlett pears are softer and are great for quick cooking. Any of these will work. The goal is taste, not perfection.
Check with your local grocery store. Look for pears that yield slightly to pressure near the stem. It’s a sign of ripeness. If they are hard, let them sit on the counter for a day or two. Patience pays off here.
Why this works
It’s all about flexibility. if you want crunch, you can add nuts. You can replace the honey with maple syrup if that’s what you have. The base recipe is a skeleton. You fill in the details according to what is in your kitchen.
It’s not just about feeding people. It’s about feeding your need without having to commit to it. Who has time for a three-tier cake on a Tuesday? But everyone has five minutes to prepare and twenty minutes to wait.
The result is a dessert that feels thoughtful. It tastes like you cared. Even if you didn’t.
So the next time you have pears on your counter, don’t
Start by rinsing the pears thoroughly. Use plenty of water. Dry completely and then peel off the skin. It’s cleaner this way and there’s nothing between the spices and the fruit.
Add the peeled pears to the pot. Place them on their sides. They should fit well, but don’t force them. If they are too tight, they will fall apart later.
Now add the spices. Cinnamon stick. Three or four whole cloves. Pour into water. For four medium pears you will need about four cups. Bring to a boil over medium heat. Let it cook for ten minutes.
Here’s the hard part. Turn the pears after these ten minutes. Turn the pot if necessary, but make sure the fruit is inverted. Close the lid.
Wait another ten minutes. Turn them over again. Close the lid. Do it again. It’s three ten-minute cycles. You simmer them gently. The goal is not to boil them straight away into puree. It’s about letting the flavors permeate slowly.
Once the flips are done, leave the lid on and let them cook for a full hour. Watch them. They should become soft. Tender, but not disintegrating. If you press lightly with a spoon, they should give a little. This is the texture you want.
When they are ready, make the syrup. You will need one and a half cups of granulated sugar. Dissolve it in the cooking liquid or a small amount of additional water. Heat until it thickens slightly. It doesn’t have to be a hard candy phase. Just a light syrup.
When the pears are ready, carefully remove them. They’re delicate now. Plate them. Pour the warm syrup over the top. Add a dollop of clotted cream or kaymak if you have it. It’s optional, but adds a richness that cuts through the spice.
What you need to get started
You don’t need a pantry full of exotic ingredients. Just look at your list:
- 4 medium pears (Bosc or Anjou work best as they hold their shape)
- 1.5 cups granulated sugar
- 3-4 whole cloves
- 1 cinnamon stick
- 4 cups of water
- clotted cream or kaymak (for serving)
This amount generously serves about three people. Adjust the quantities if you are cooking for a larger crowd, but make sure to keep the ratio of sugar to water the same. Sweetness is key here.
Tips for perfect poached pears
The biggest mistake people make is rushing. Do not skip three ten-minute periods. If you just pour everything in and let it cook for an hour, the outside will go gooey and the inside will stay firm. Flipping ensures even cooking and even color distribution.
Also choose your pears carefully. If they are rock hard, they will take longer to soften. If they are too ripe, they will fall apart. Look for fruit that yields slightly to pressure from the end of the stem. It’s a sweet spot.
Let the pears cool in the syrup before serving. This way they absorb more flavor. And if you make them ahead of time, they’ll taste better the next
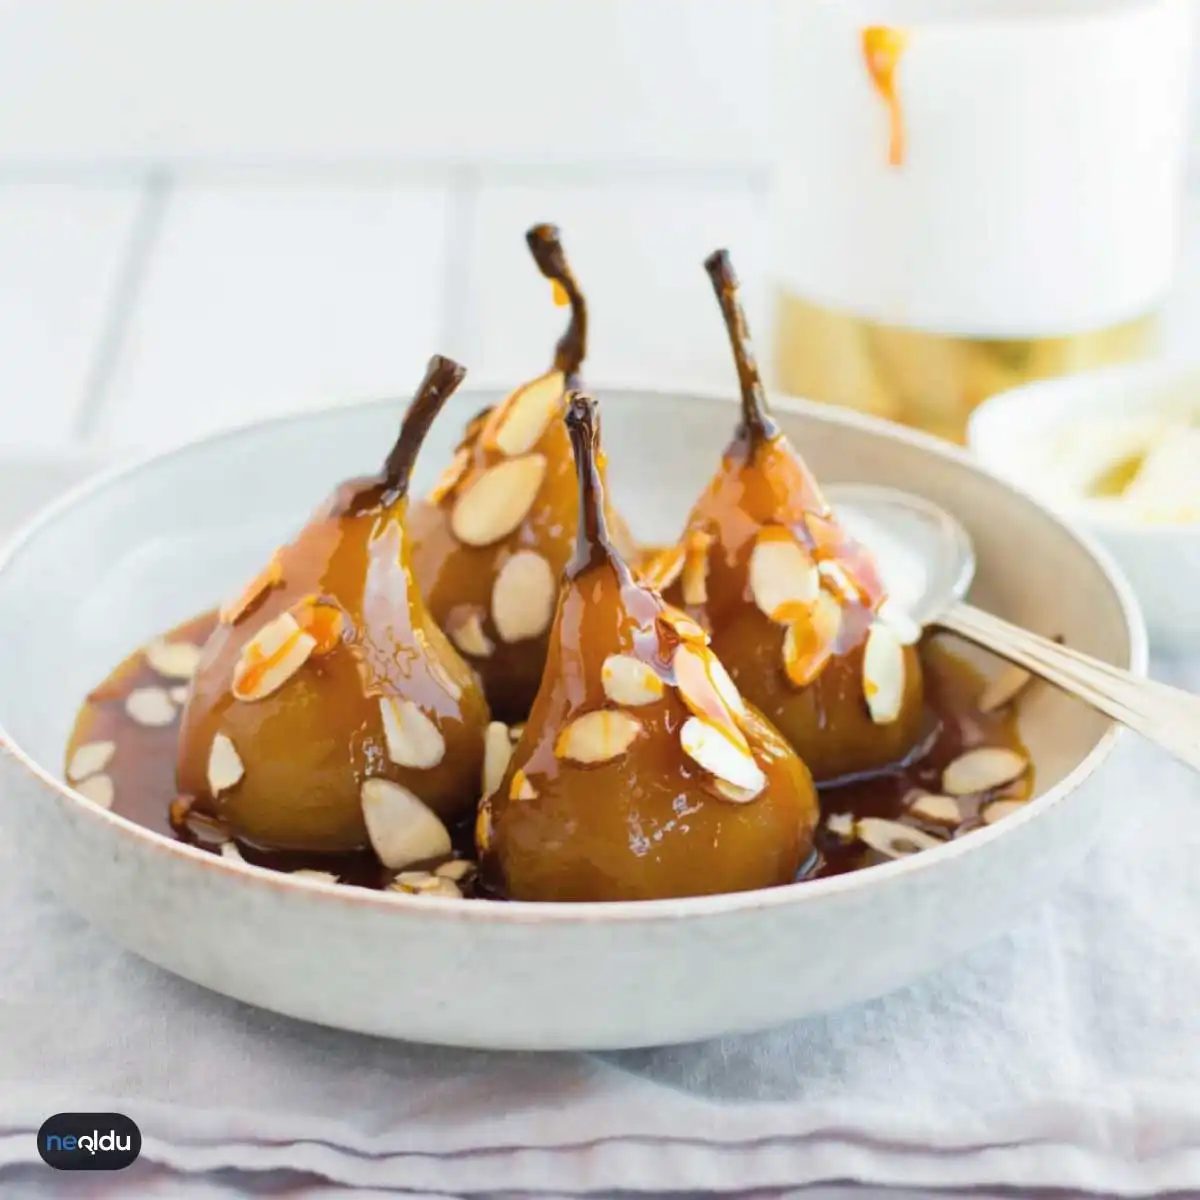
Preserving the Peel and Avoiding Burnt Sugar
The most common mistake people make when making this dessert? Ruining the pear during the peeling process. It is tempting to just slice and dice, but keeping them whole—or at least intact enough to recognize the original fruit—makes a huge difference in the final presentation. People notice. They give better reviews. They actually want to know what they are eating.
When you are boiling the syrup, keep a close eye on the sugar. Burnt sugar turns bitter. Bitterness kills the delicate flavor of ripe pears. You want that golden hue, not a charcoal one.
And please, do not serve it dry. A scoop of ice cream or a dollop of kaymak (clotted cream) changes the entire texture. It cuts through the sweetness. It makes the dessert feel lighter, less heavy on the palate. Think of it as a necessary contrast rather than just an add-on.
How to Actually Make It
The process is straightforward if you break it down. You are looking at four main steps:
- The Dough: Prepare it according to your preferred recipe.
- The Pears: Slice them. Not necessarily into thin wedges, but in a way that allows the syrup to penetrate.
- The Syrup: Boil sugar, water, and lemon. Let it cool.
- The Soak: Pour the cool syrup over the warm baked pears. Let them sit. That is where the magic happens. The pastry absorbs the liquid. The fruit softens further.
Timing and Sugar Levels
How long does this take? If you are efficient, the prep work—slicing the pears and making the syrup—takes about 30 minutes. But the waiting game is real. You need to let the dessert cool and absorb the syrup for 2 to 3 hours. Do not rush this. Warm syrup on cold pastry is a texture disaster.
As for the sweetness, it is adjustable. The standard recipe sits at a medium sugar level, but if you are using very sweet pears, reduce the sugar in the syrup. Taste as you go.
Gluten and Storage Concerns
Does it contain gluten? Technically, the dough itself often does not. However, cross-contamination can happen, or some recipes might include flour in the syrup thickening process (though this is less common in traditional versions). If you are strictly gluten-free, verify your syrup ingredients. Some thickening agents or flavorings might contain hidden gluten. Stick to simple sugar, water, and lemon if you want to be safe.
Storage is easy. Keep it in a closed container in the refrigerator. It stays good for about 2 to 3 days. After that, the pastry gets too soggy. The pears start to break down. Eat it while the texture still holds up.
Why This Dessert Works
It is not complicated. It does not require expensive ingredients. It relies on patience and the quality of the fruit. If your pears are bland, the dessert will be bland. If your syrup is too thin, the pastry will fall apart. Pay attention to those details.
You might wonder if there are variations. Some people add cinnamon to the syrup. Others add rosewater. These are optional. The core experience is the pear, the